Manual deburring burns through labor costs and creates inconsistent results that lead to scrap and delayed shipments. Robotic deburring changes that by delivering precise, repeatable edge finishing without operator fatigue or quality drift.
This guide walks you through implementing deburring automation from start to finish. You'll learn how to select the right robot and tooling, design your cell layout, program deburring paths, and calculate ROI. These steps will get your robotic deburring system up and running successfully, whether you're running a 20-person machine shop or managing Fortune 500 production.
How to implement a deburring robot: TL;DR
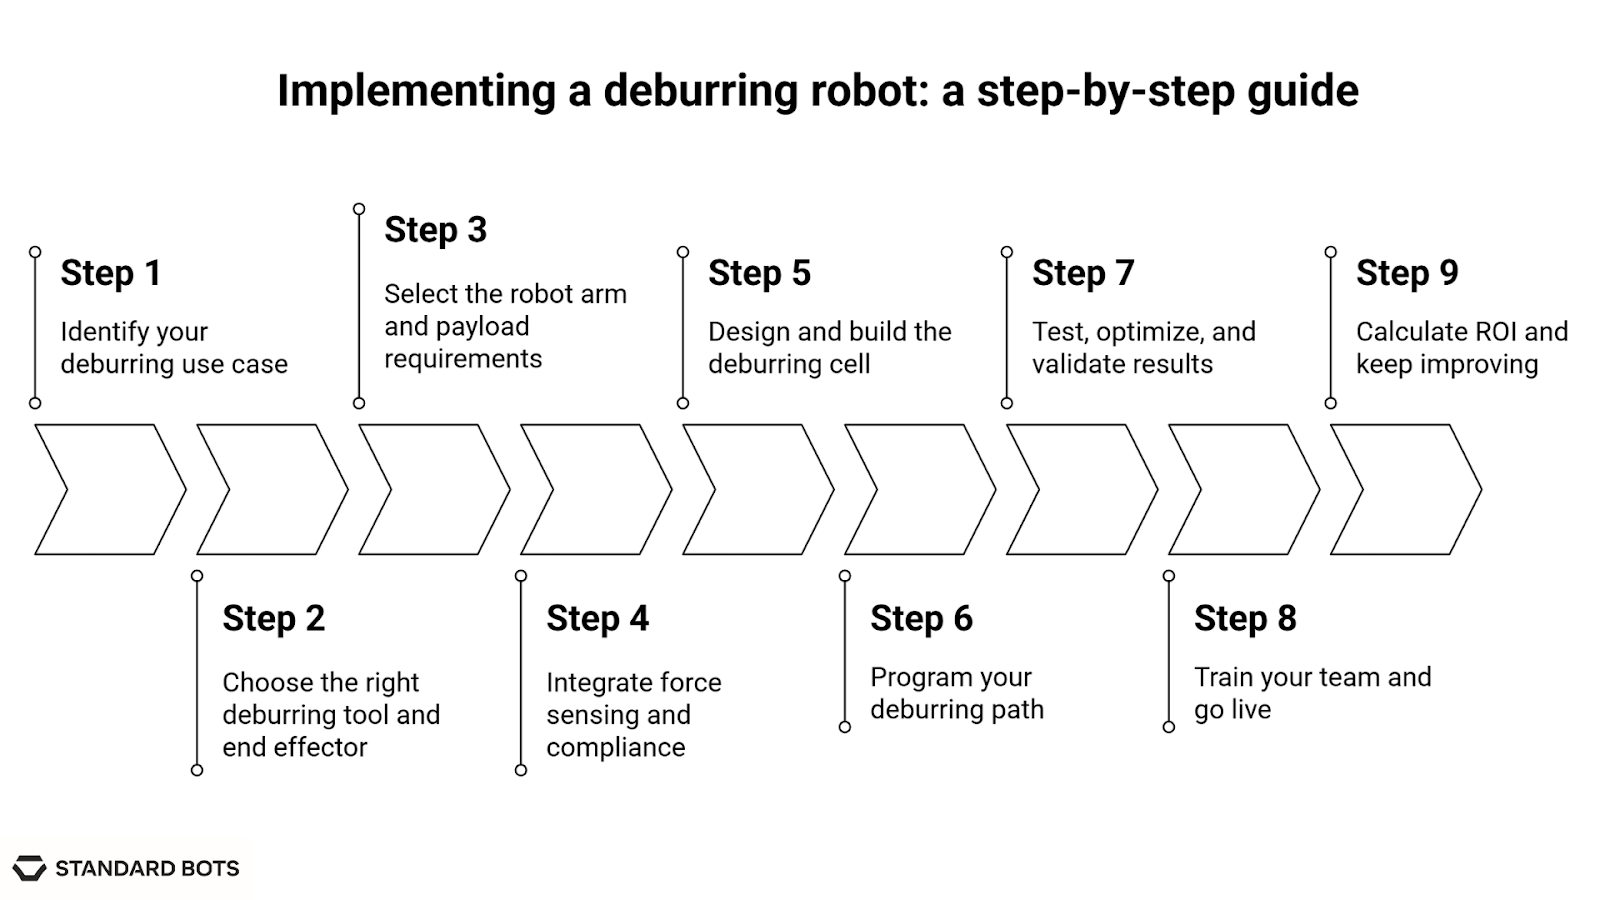
- Step 1: Identify the materials and burr types you're working with, and clarify whether you're solving quality, labor, or throughput issues.
- Step 2: Choose a passive or active deburring tool based on your material, burr size, and surface finish needs.
- Step 3: Select a robot arm that meets your payload, reach, and axis requirements while fitting within your workspace.
- Step 4: Integrate force sensing or compliance to maintain consistent pressure and avoid part damage or tool wear.
- Step 5: Design a safe and efficient deburring cell layout with proper part access, tool changers, and debris handling.
- Step 6: Program the deburring path using manual teaching, CAD/CAM, or offline simulation, focusing on smooth, steady motion.
- Step 7: Run test batches, inspect results, and fine-tune path, speed, and force for consistent burr removal.
- Step 8: Train your team to load parts, monitor quality, and perform routine maintenance to keep the cell running.
- Step 9: Measure ROI based on labor savings, scrap reduction, and productivity gains. Most setups pay off in 12 to 18 months.
What is robotic deburring, and why does it matter in 2025?
Robotic deburring is the automated process of using robots to remove burrs, sharp edges, and other unwanted material from manufactured parts. It's a more efficient method compared to manual deburring, offering improved part quality, increased throughput, and enhanced safety.
When you machine, cast, or cut metal, you get burrs – those sharp, uneven edges that stick out like tiny metal splinters. In the past, someone had to manually smooth every single one. Now robots do it faster, more consistently, and without getting tired or injured.
Robotic deburring slots right after your primary manufacturing process. Your CNC mill finishes a part, the robot picks it up, deburrs all the edges, and places it in the finished goods bin. No human handling, no inconsistent pressure, no RSI from repetitive grinding motions.
Key benefits of robotic deburring
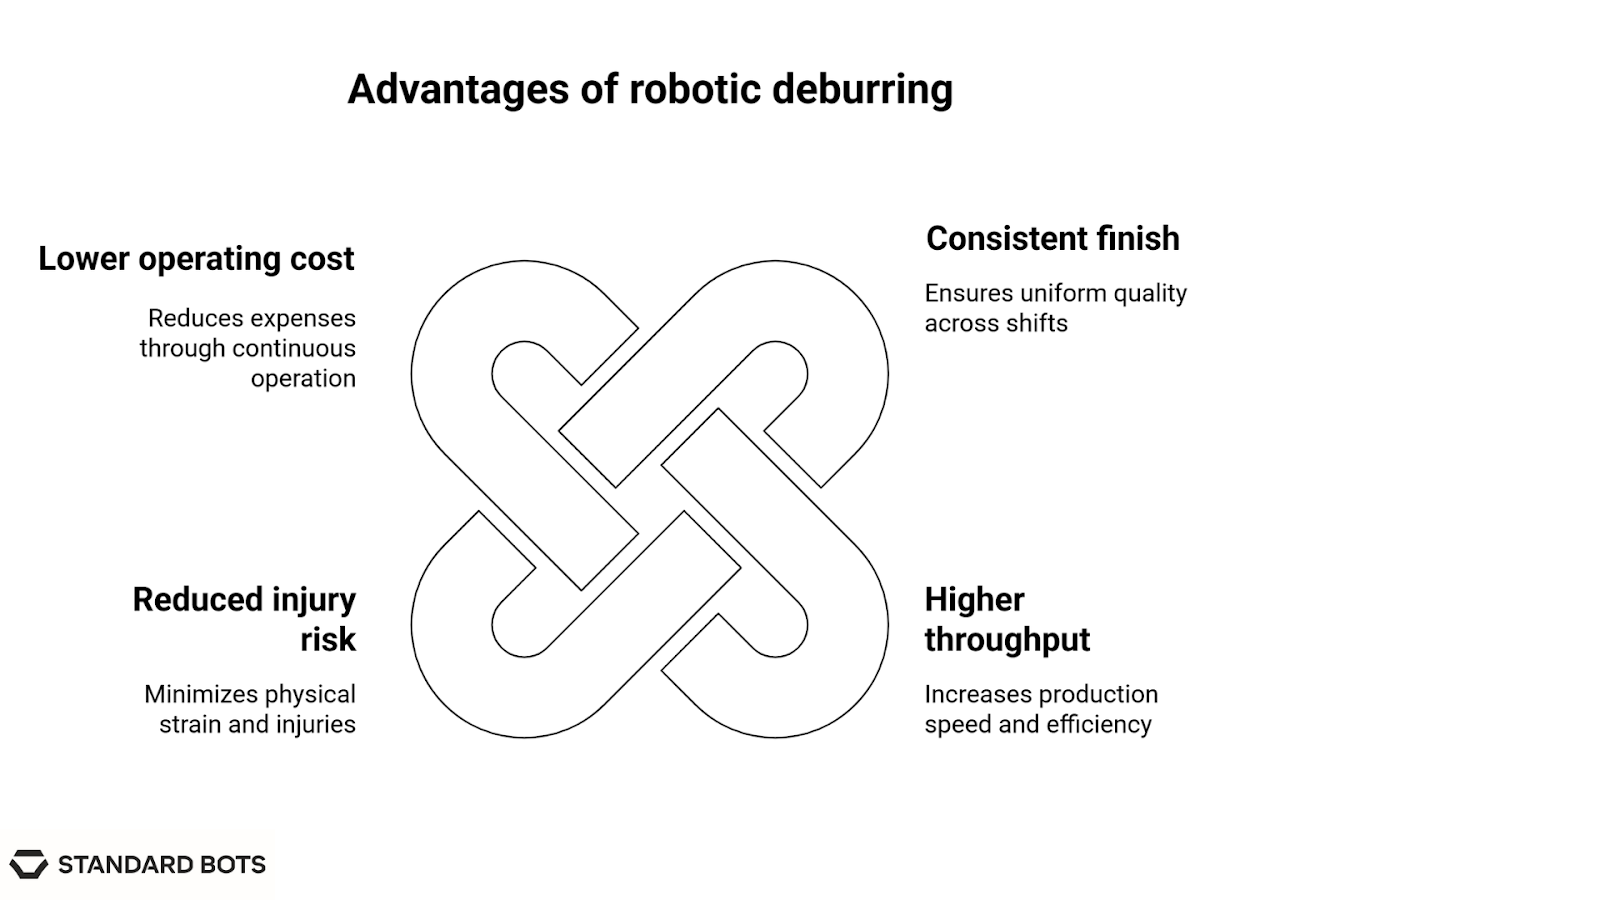
- Consistent finish: Robots apply the same pressure and speed every time. No more wondering if the morning shift parts look different from the evening shift parts.
- Higher throughput: The global deburring robots market was valued at approximately $6.72 billion in 2023 and is projected to reach around $16.88 billion by 2032, growing at a CAGR of 10.4%. This is driven largely by robots completing deburring tasks significantly faster than manual methods.
- Reduced injury risk: In the U.S., there were approximately 800,000 unfilled manufacturing jobs in July 2022, according to the National Association of Manufacturers, with a forecasted 2.1 million unfilled positions by 2030. Manual deburring is physically demanding work that contributes to high turnover rates.
- Lower operating cost: Once deployed, robotic systems run continuously without breaks, overtime pay, or workers' comp claims from repetitive strain injuries. Plus, consistent quality reduces scrap rates and eliminates costly rework cycles that eat into profit margins.
The global robotic deburring tools market reached approximately $800 million in 2023 and is projected to reach $1.45 billion by 2032, growing at a 6.5% CAGR. Rising automation and demand for high-precision surface finishing drive this growth in industries like aerospace, automotive, and electronics, where consistency and quality are essential.
Steps for implementing a deburring robot
Step 1: Identify your deburring use case
- Before you start shopping for robots, get clear on what you're actually trying to accomplish. The materials you're processing drive everything else in your setup. Aluminum parts need different tooling than hardened steel, and plastic components require gentler approaches than cast iron.
- Define whether you're doing edge-breaking, surface finishing, or polishing. Edge-breaking removes sharp burrs for safety and assembly, surface finishing creates uniform textures, and polishing delivers that mirror-like appearance. Each requires different tools, speeds, and force control.
- Document the manual process issues you want to solve. Maybe your operators are burning out from repetitive grinding motions, or you're seeing quality variations between shifts. Perhaps your labor costs are eating into margins, or you need consistent results for a demanding customer.
- For example, a CNC shop deburring cast aluminum transmission housings might struggle with consistent edge quality across hundreds of parts per day, leading to rework and delayed shipments.
Step 2: Choose the right deburring tool and end effector
- Passive tools like compliant deburring attachments follow part contours using spring-loaded mechanisms, whereas active tools use spindles and motors for controlled material removal.
- These passive tools excel at consistent edge-breaking on predictable geometries. They're simpler to program and maintain, but struggle with varying burr sizes or complex part shapes. Active tools offer precise control over cutting speed and depth, handling tough materials and irregular burrs, but require more sophisticated programming and higher maintenance.
- Consider the torque, speed, and tool life requirements for your specific materials. Harder burrs need more aggressive cutting parameters, while delicate surfaces require gentle approaches. Tool compatibility matters too.
Step 3: Select the robot arm and payload requirements
- Calculate your total payload by adding tool weight, part weight, and any fixtures or adapters. A 5-pound deburring spindle plus a 10-pound part means you need at least 15 kg capacity, with safety margin for acceleration forces.
- Evaluate the axes and flexibility needed for your part geometry. Simple flat parts might work with a 4-axis setup, but complex castings with internal features need full 6-axis movement. Consider your space constraints carefully. Can you mount the robot overhead, or do you need a floor-mounted collaborative setup?
- Standard Bots' RO1 fits perfectly into high-precision, small-batch scenarios with its 18 kg payload, 1300 mm reach, and ±0.025 mm repeatability. Its collaborative design lets it work alongside operators without safety cages, making it ideal for shops with tight floor space.
Step 4: Integrate force sensing and compliance
- Force feedback prevents disasters like broken tools, damaged parts, and inconsistent finishes. Without proper compliance, your robot will either cut too aggressively and ruin parts or apply insufficient force and leave burrs behind.
- You have several options for force sensing. Internal force sensors built into the robot wrist provide real-time feedback for path adjustment. External force/torque sensors offer higher precision but add complexity. Active compliance systems use servo-controlled mechanisms to maintain consistent contact pressure regardless of part variations.
- The key is creating a closed-loop feedback system where the robot continuously adjusts force based on real-time sensor data. This prevents overcutting when hitting soft spots and ensures adequate pressure on tough burrs. Standard Bots' SDK supports advanced sensor integration, making it easier to implement sophisticated force control strategies.
Step 5: Design and build the deburring cell
- Layout planning determines your success rate. Position the robot for optimal reach to all part features while maintaining clear access for loading, unloading, and maintenance. Include dedicated spaces for part fixtures, tool changers, and any vision systems.
- Safety requirements vary based on your setup. Cobots like RO1 can work alongside operators with built-in collision detection, while traditional industrial robots need physical barriers like light curtains or safety enclosures. Design for worst-case scenarios: flying debris, broken tools, and operator mistakes.
- Vision guidance and part detection sensors dramatically improve repeatability, especially for parts with positional variations. A simple 2D camera can verify part orientation, while 3D vision systems handle complex geometries and adapt to part-to-part differences.
Practical design checklist:
- Emergency stops within easy reach
- Adequate lighting for vision systems
- Robot reach covers all part features
- Maintenance access to all components
- Debris collection and chip management
- Tool changer positioned for quick swaps
- Clear operator access for loading/unloading
Step 6: Program your deburring path
- Manual teaching works for simple geometries where you can physically guide the robot through the desired path. It's fast to set up, but limited to parts you can safely handle and manipulate during programming.
- CAD/CAM programming uses your existing part models to generate robot paths automatically. This approach handles complex geometries and ensures consistent coverage, but requires additional software and programming expertise.
- Offline programming lets you develop and test paths in simulation before touching the actual robot. This minimizes downtime and reduces the risk of crashes during development, especially valuable for complex parts or high-mix environments.
- Path variation directly affects quality. Consistent force application requires steady speeds and smooth acceleration profiles. Sharp direction changes create force spikes that can damage delicate surfaces or break small tools. Modern systems like StandardOS use logic blocks to handle edge cases automatically, adapting to unexpected burr sizes or part variations without manual intervention.
Step 7: Test, optimize, and validate results
- Run sample batches with representative parts to verify your setup before committing to full production. Inspect burr removal quality, surface finish consistency, and dimensional accuracy across multiple parts.
- Establish consistent metrics for success. Measure surface roughness values, check edge radius consistency, and track cycle times. Document any quality variations and trace them back to specific process parameters.
- Parameter tuning is an iterative process. Adjust cutting speeds, contact forces, and path strategies based on your inspection results. Small changes in force or speed can dramatically impact tool life and surface quality.
QA validation checklist:
- Tool wear within acceptable limits
- Cycle time meets production requirements
- Edge radius consistency across all features
- Visual inspection for complete burr removal
- Surface roughness measurements within specs
- No damage to part surfaces or critical dimensions
Step 8: Train your team and go live
- Upskill your operators to supervise robotic cells rather than perform manual deburring. They need to understand when the process is running correctly, how to load parts properly, and when to call for maintenance support.
- Routine maintenance tasks include tool replacement, calibration checks, and basic troubleshooting. Train multiple operators on these procedures to avoid production delays when your robot expert is unavailable.
- Involve operators in the development process from day one. Their hands-on experience with part variations and quality requirements is invaluable for optimization. Operators who help develop the process feel ownership and are more likely to maintain quality standards.
Step 9: Calculate ROI and keep improving
- Compare your robotic system against manual operations across all relevant metrics. Labor savings often provide the biggest impact, but don't overlook scrap reduction, cycle time improvements, and quality consistency benefits.
- Key cost drivers include robot purchase price, tooling expenses, fixture design and fabrication, integration engineering, and ongoing maintenance. Most shops see ROI within 12 to 18 months, with faster payback for high-volume operations or expensive manual labor rates.
- Track performance continuously and look for improvement opportunities. Tool life optimization, path refinements, and fixture improvements can deliver ongoing cost reductions even after initial deployment.
ROI calculation: ROI = (Annual Savings – Annual Investment Costs) / Total Investment × 100%
- Consider both hard savings, like reduced labor costs, and soft benefits, like improved quality, consistency, and operator satisfaction. The combination typically justifies automation even in challenging economic conditions.
Real-world examples
The following cases highlight a common theme: robotic deburring solves quality problems while cutting costs. The technology has matured beyond simple edge-breaking to handle complex geometries and demanding surface finish requirements.
Precision manufacturing reduces injury risk
A precision turned product manufacturer replaced manual deburring with a cobot for metal cylinders. According to a case study from the National Institute for Occupational Safety and Health, operators previously handled 68 parts per hour over 10-hour shifts, performing repetitive motions with 10-pound parts. The robotic system eliminated employee exposure to musculoskeletal injury risk factors. This also reduced the quantitative upper extremity MSD risk score from 18 to 6 while maintaining the same productivity levels.
Industrial power generation improves cycle times
An industrial power generation manufacturer automated deburring of large steel and stainless steel castings. KC Robotics developed a system for parts ranging from 200 mm to 1200 mm in diameter, weighing around 350 kg. The robotic deburring system achieved significantly shorter cycle times than anticipated in the business case, while providing flexibility to expand the types of parts that could be processed beyond original expectations.
Summing up
Robotic deburring delivers consistent quality, eliminates injury risks, and typically pays for itself within 12–18 months through labor savings and reduced waste. Modern cobots like RO1 need minimal space and no specialized programming expertise. Cobots make automation accessible to small shops.
Success depends on proper tool selection, force sensing integration, and thorough operator training. The deburring robot market is growing at 10.4% annually. So, manufacturers who automate now will gain competitive advantages in quality, throughput, and cost control while addressing persistent labor shortages.
Why now’s the time to automate with Standard Bots
Deburring robots boost quality, consistency, and uptime while cutting costs. Small shops can afford and deploy this technology today. It's a smart move for fabricators in 2025.
RO1 by Standard Bots isn’t any old six-axis cobot; it’s the one robot that actually makes deploying a deburring robot easy.
- Affordable automation that makes sense: RO1 costs $37K (list). Get high-precision automation at half the cost of traditional robots.
- Handles the hard jobs like a pro: RO1 delivers ±0.025 mm repeatability and an 18 kg payload, tackling assembly, welding, material movement, and more with next-level accuracy.
- AI-powered and easy to use: No-code programming means you don’t need an engineer to set it up. Deploy it in hours, not months. Plus, Standard Bots’ advanced AI, on par with GPT-4, makes RO1 adaptable and intelligent.
- Safe to work alongside humans: Machine vision and collision detection let RO1 work right next to your team without cages or barriers.
Schedule your on-site demo with our engineers today and see how RO1 makes automation actually simple.
FAQs
1. What's the typical ROI timeline for a deburring robot?
The typical ROI timeline for a deburring robot is 12 to 18 months. Most shops achieve payback through labor savings, reduced scrap, and increased throughput. High-volume operations often see faster returns.
2. Can deburring robots handle different part sizes and materials?
Yes, deburring robots can handle different part sizes and materials effectively. Modern systems adapt to aluminum, steel, and plastics through tool changes and programming adjustments for various geometries.
3. How much space does a robotic deburring cell require?
A robotic deburring cell requires only a small footprint if you use a cobot like the RO1, typically needing just 1–2 m² of space for tabletop applications or about 10–16 m² for complete production cells. However, traditional setups need about 25–100 m² (or more) for safety barriers and access zones. Cobots do not need safety cages, so they’re particularly suitable and easy to integrate into shops with limited space.
4. What maintenance do deburring robots need?
Deburring robots need basic maintenance, including tool replacement, calibration checks, and sensor cleaning. Most systems require minimal daily attention with scheduled preventive maintenance protocols.
5. Can operators without robotics experience run deburring robots?
Absolutely. Operators without robotics experience can run deburring robots successfully. Modern systems use no-code programming and intuitive interfaces, so operators can focus on loading parts and monitoring quality.
Join thousands of creators
receiving our weekly articles.