Sanding by hand might build character, but it’s also dusty, inconsistent, and brutally slow. Allied Market Research reports that the global robotics sanding and polishing market should hit $750 million by 2032. So, it’s no surprise that in 2026, robotic sanding is automating surface finishing with way better results.
This guide clarifies how robotic sanding works, what you need to set up, what to expect, and an automated solution for your factory.
Whether you’re smoothing out wood panels, prepping metal for paint, or polishing complex 3D shapes, sanding robots are becoming a no-brainer.
In this article, we’ll cover:
- Key components of a robotic sanding system
- Materials suitable for robotic sanding
- Steps to implement robotic sanding in your factory
- How to install a robotic sanding machine in your factory
- Benefits and challenges of robotic sanding
Key components of a robotic sanding system
Each part of a sanding robot pulls its weight, and if one slacks off, your finish is gonna look like it was done by an intern with sandpaper gloves. We’ve outlined the squad that makes robotic sanding possible below.
Let’s take a look at these components in detail:
1. The arm does the dirty work
This is your core robot — usually a multi-axis arm that moves the sander exactly where it needs to be. Some are massive industrial beasts; others are nimble cobots with sanding end effectors that don’t take up much floor space. Either way, if this arm’s jittery or underpowered, your finish is toast.
2. The end effector gets gritty
A literal robo-hand — except instead of holding stuff, it's spinning abrasive pads, belts, or discs. The type of sanding tool you attach determines what the robot can actually pull off (fine finishing vs. heavy material removal), so it’s not a one-and-done deal.
3. Enough force control to get the job done (not Hulk out)
A good robot sanding tool maintains consistent pressure — too soft, and you waste time, too hard, and you chew through the part. Force control systems help the robot keep its cool and apply the exact amount of push, even on curved or uneven surfaces.
4. Unblinking vision systems
Some setups use vision systems to detect part position, surface quality, or edge alignment. This gives the robot context — so the robot doesn’t just blindly follow a path, but adjusts based on what it sees. It’s how sanding bots don’t mess up just because the part’s 5 mm off.
5. Software that doesn’t take Stephen Hawking to operate
Control software handles pathing, feedback, tool changes, and real-time adjustments. Some platforms are code-heavy; others are super visual. Either way, this is where you train your robot to not suck — and where you’ll be tweaking things after every test run early on.
Materials suitable for a robotic sander
Not every material loves to be sanded — and not every robot is built to handle the diva behavior of certain surfaces. Some materials cooperate beautifully. Others clog pads, burn up under pressure, or chip if you breathe on them wrong. So yeah, matching the right robot to the right surface? Kinda important.
Here’s what your robotic sander can handle — if set up right:
Metal (the tough guy)
Aluminum, steel, brass — they’re all sandable with the right grit, RPM, and force control. Robotic sanding is especially useful for deburring sharp edges or prepping metal parts for painting and welding. Just make sure you’ve got proper dust extraction and a pad that won’t melt after three minutes, like a GPU with Crysis back in 2007.
Wood (surprisingly needy)
While wood’s soft, it’s also unpredictable. Grain direction, knots, and variations in moisture make consistent sanding tough by hand. Robots can adapt with the right end effector and some feedback tuning. Cabinet manufacturers and furniture shops use sanding robots to prep panels without leaving swirl marks or pressure lines.
Composites (fragile but fab)
Carbon fiber and fiberglass parts need a light touch — and a robot can be programmed to finesse those surfaces better than most humans. These materials chip easily if over-sanded, so a robot with real-time force feedback is your best friend here.
Thermoplastics (melt under pressure)
Sanding plastic is tricky. Too much heat and the surface warps like a plastic figurine in a microwave. Too little and nothing happens. Sanding robots work best with lightweight abrasives and carefully programmed toolpaths to avoid overheating. Electronics, packaging, and appliance casings are common use cases.
Glass (yes, really)
Specialized robotic sanding machines can do edge polishing and surface finishing on glass, but this isn’t for entry-level systems. You need a solid combo of low RPMs, precise pressure, and often wet sanding. Think high-end fixtures or consumer tech with fancy finishes.
Steps to implement a robotic sanding machine in your factory
You can’t just plop a sanding robot onto the floor, yell “Go!” and expect it to read your mind. Like any smart automation move, this takes research, planning, testing, cost-benefit analyses, and the occasional facepalm before it all clicks. But once it’s dialed in? Beautiful.
Here’s how to get to smooth, automated sanding bliss:
- Figure out what’s genuinely slowing you down: Are you dealing with inconsistent finishes? Too much time lost to hand sanding? Bottlenecks before painting? Nail down where sanding pain points exist so you’re not just automating for automation’s sake.
- Get real about your part specs and surface needs: What material are you working with? What finish quality do you need? Do you need light polishing or aggressive removal? Defining your technical requirements upfront will save you from buying a robot that’s wildly over- or underqualified.
- Research smarter: There’s a sea of sanding bots out there — cobots, 6-axis arms, mobile units, integrated cells. Use resources like our guide to cobots for sanding, this primer on polishing robots, or this practice guide to robotic polishing to zero in on setups that match your operation.
- Actually run the numbers: A proper cost-benefit analysis looks at hardware, setup, maintenance, operator time, and long-term output. Factor in your current scrap rate and labor hours to see when a robot truly starts paying for itself — sometimes it’s sooner than you'd think.
- Plan your floor like it’s about to host Lollapalooza: Integration matters. You’ll need the robot’s footprint, safety zones, feeder systems (maybe), and room for rework stations. Slapping it in a corner and hoping it fits = chaos.
- Test it before it tests your patience: Simulate and tweak in a virtual environment first. Even if it’s just in software, you’ll spot collisions, weird sanding paths, and pressure issues early. Some manufacturers offer drag-and-drop offline tools — use them.
- Don’t go full cowboy — get help: Whether it’s your in-house team or a systems integrator, bring in someone who has deployed these things before. They’ll catch stuff you didn’t even know to worry about (like, “Why is the robot trying to sand the clamp?”).
- Install, test, tweak, repeat: Once the equipment’s in, expect some back and forth. The first few parts will probably look … weird. Tweak settings, monitor force feedback, and dial in cycle time. Don’t expect perfection out of the box — expect improvement.
- Train people like they’ll ultimately be using it: Everyone who touches the robot — from the programmer to the operator to the person doing QC — needs to know what it’s doing and how to make it stop doing something dumb. Training beats troubleshooting.
- Track what’s working — and what isn’t: Build in KPIs like cycle time, surface consistency, and rework rates. That’s how you justify the spend and catch problems early. You’re not done once it’s running — you’re just getting started.
How to install a robotic sanding machine in your factory
This isn’t a ’90s LucasArts adventure game — but it ain’t MENSA either. Installing a robotic sanding machine is totally doable if you’ve got a decent game plan. You’ll need to open up space, mount the robot, connect the sander, and add safety gear. Then, you’ll program, test, and unleash your sanding beast. It wouldn’t hurt to add a healthy respect for things that move with 6 degrees of freedom.
Here’s a simplified install checklist that won’t make your team cry:
Benefits of robotic sanding
Manual sanding isn’t broken — it’s just outdated for anything beyond small-batch work. Once your team is spending hours trying to hit a consistent surface finish across hundreds of units, it’s time to level up.
A robotic sanding machine helps automate the parts of sanding that humans tend to struggle with: repetition, pressure control, and consistency.
Here’s where robotic sanding actually makes a noticeable difference:
- More consistent surface finishes: Humans vary. One operator might apply more pressure, sand longer, or angle the tool slightly differently. A robot sander runs the same programmed motion every time — reducing visible defects, making finishes more uniform, and helping prep parts for downstream stuff like coating or bonding. Robotic polishing also helps get finishes that are to die for. In fact, implementing robotic sanding systems has shown to improve accuracy by 55%.
- Solid productivity gains (especially on large batches): A sanding robot won’t make your line magically faster — but it will eliminate downtime from fatigue, breaks, and inconsistency. It keeps it steady, which adds up during long shifts or large production runs.
- Fewer injury risks from repetitive work: Sanding by hand all day can lead to wrist strain, muscle fatigue, and exposure to airborne particles. By handing off the repetitive motions to a robot, workers can move into roles with less physical stress — and you get fewer safety concerns and less turnover. On average, robotic systems can reduce time spent on hazardous tasks by 72%.
- Better material usage and reduced scrap: Over- and under-sanding are both expensive. Robotic sanding reduces the odds of having to scrap parts due to uneven finishes, inconsistent pressure, or accidental gouging. You’ll still need quality checks — but you’ll likely need them less often.
- Helpful for complex shapes and harder-to-reach zones: Robots aren’t perfect at adapting to every surface — but with the right setup, a robotic sander can handle multi-angled parts more smoothly than most humans. This is especially useful for manufacturers dealing with odd geometries, curved panels, or fragile edges.
Challenges of robotic sanding
Getting a robotic sanding machine is not a cure-all — it comes with a few groan-inducing challenges that are absolutely worth discussing.
Here’s where robotic sanding might give you some (unintended) friction:
- Reach and flexibility may suffer (unless you spec smart): Robots are amazing at repeating motions — but awkward corners, tight cavities, and large parts that need repositioning can still be tricky. You’ll need to think through part orientation, workspace layout, and possibly even custom jigs to make it all flow smoothly.
- Programming takes effort — especially early on: Most modern sanding robots come with user-friendly software, but teaching them how to sand a new part isn’t always as easy as you’d think. Expect some trial and error when fine-tuning paths, pressure, and dwell time. If you don’t have experience in-house, you’ll likely need a systems integrator to help at first.
- Not all surfaces behave the same: A robotic sander works well on flat or slightly curved surfaces, but if you're dealing with inconsistent materials, layered textures, or parts that change slightly from run to run, you'll run into adaptation issues. Surface variation can throw off pressure feedback and lead to uneven results.
- Dust and debris can get in the way: Just like manual sanding, robot sanding kicks up dust — and that dust can jam sensors, clog end effectors, or wear out moving parts faster. You’ll need a solid dust extraction setup and a maintenance plan to keep things running clean.
- Integration takes time and money: Plug-and-play rarely means “actually ready to go in one day.” Robotic sanding systems often need to be integrated with upstream and downstream processes, safety zones, and quality control checkpoints. Yes, that will take planning, layout changes, and maybe even a few rounds of, “I want to break this. I won’t break this, but I want to.”
Summing up
Robotic sanding isn't replacing elbow grease with a fancy arm — it’s making sanding less messy, more consistent, and a whole lot smarter.
That said, it’s not a miracle cure: You’ll need the right setup, some initial tuning, and a bit of patience to dial things in. But when it clicks? Your line runs cleaner, your finishes stay tighter, and your team focuses on things that don’t require 40,000 identical wrist motions per shift. Essentially, sanding robots upgrade the whole vibe of your production floor.
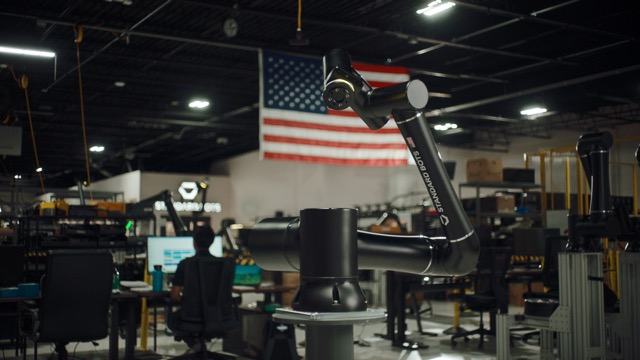
Next steps with Standard Bots
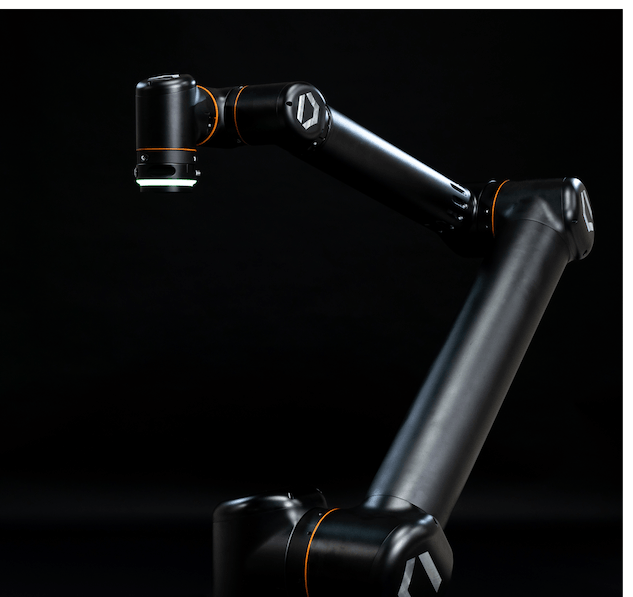
RO1 by Standard Bots is more than a robotic arm — it’s the six-axis cobot upgrade your factory needs to automate smarter.
- Affordable and adaptable: Best-in-class automation at half the price of competitors; leasing starts at just $5/hour.
- Precision and strength: Repeatability of ±0.025 mm and an 18 kg payload make it ideal for sanding, polishing, deburring, CNC machine tending, pick-and-place, painting, welding, and so, so much more.
- AI-driven and user-friendly: No-code framework means anyone can program RO1 — no engineers, no complicated setups. And its AI on par with GPT-4 means it keeps learning on the job.
- Safety-minded design: Machine vision and collision detection let RO1 work side by side with human operators.
Book your risk-free, 30-day onsite trial today and see how RO1 can take your sanding operations (and beyond) to the next level.
brighter future

Join thousands of creators
receiving our weekly articles.